
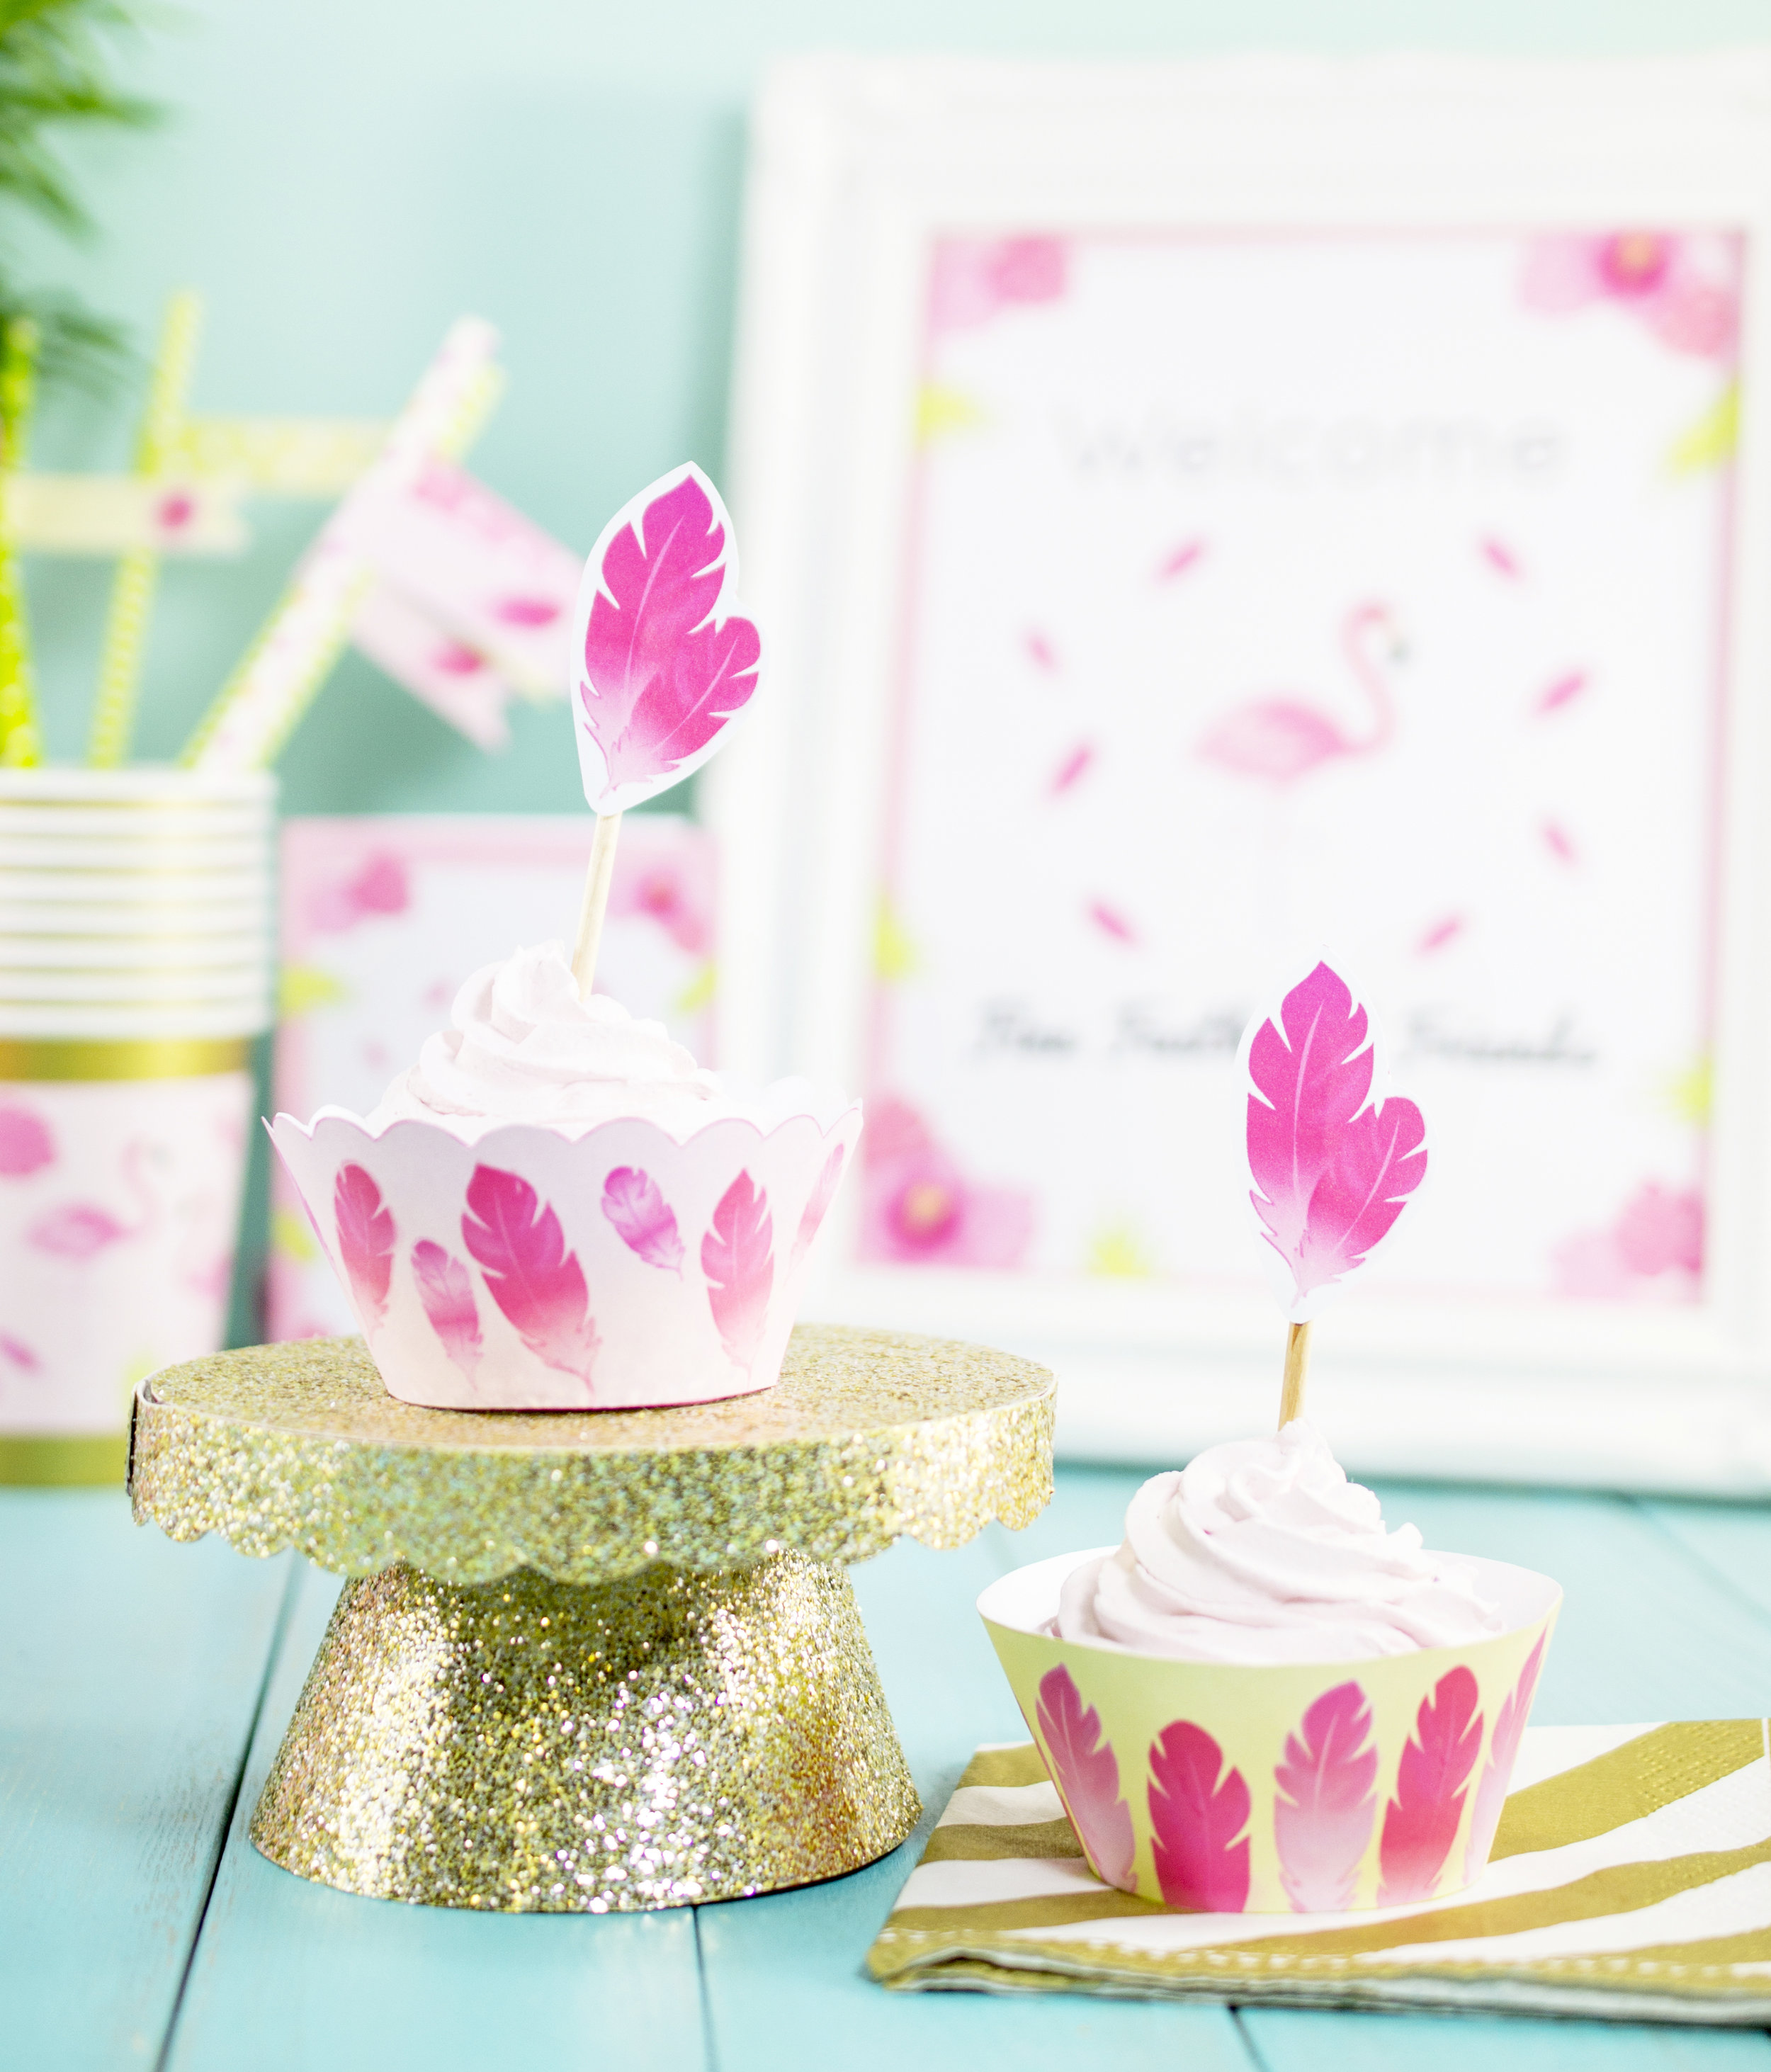
Planning a party? These DIY mini cardboard cupcake stands make perfect table decor and photo props! They fit one large cupcake or several mini cupcakes. These cute little stands can be covered in a verity of materials from glitter card stock to burlap to vinyl fabric. Let your imagination go wild!

<<CLICK HERE TO DOWNLOAD CUPCAKE STAND TEMPLATES>>
Supplies:
2 kinds of Cardboard ( a light weight cereal box and a heavier weight shipping box )
Glue gun
White Glue
Scissors
Paper
Marker
Outer material, your choice of either glitter card stock, card stock, vinyl, burlap, or any non-fraying fabric...I choose to use a gold glitter card stock 12" by 12" for the outer material.
Step 1) Print out templates onto paper. You will need Adobe Acrobat Reader installed on your computer to read the PDF template files. Cut around the template pieces.

Step 2) Using a marker trace the circle template onto the thicker cardboard. Then trace the bottom semi-circle template with the tabs onto the thinner cereal box cardboard. Cut out these pieces and put them aside. Next place the circle template, the semi-circle template without tabs and the 2 scalloped strip pieces onto the back of your outer material. Cut out all these pieces. If your outer material is larger than 12" by 12" you can join the scalloped strip template pieces and cut them out as one long strip.
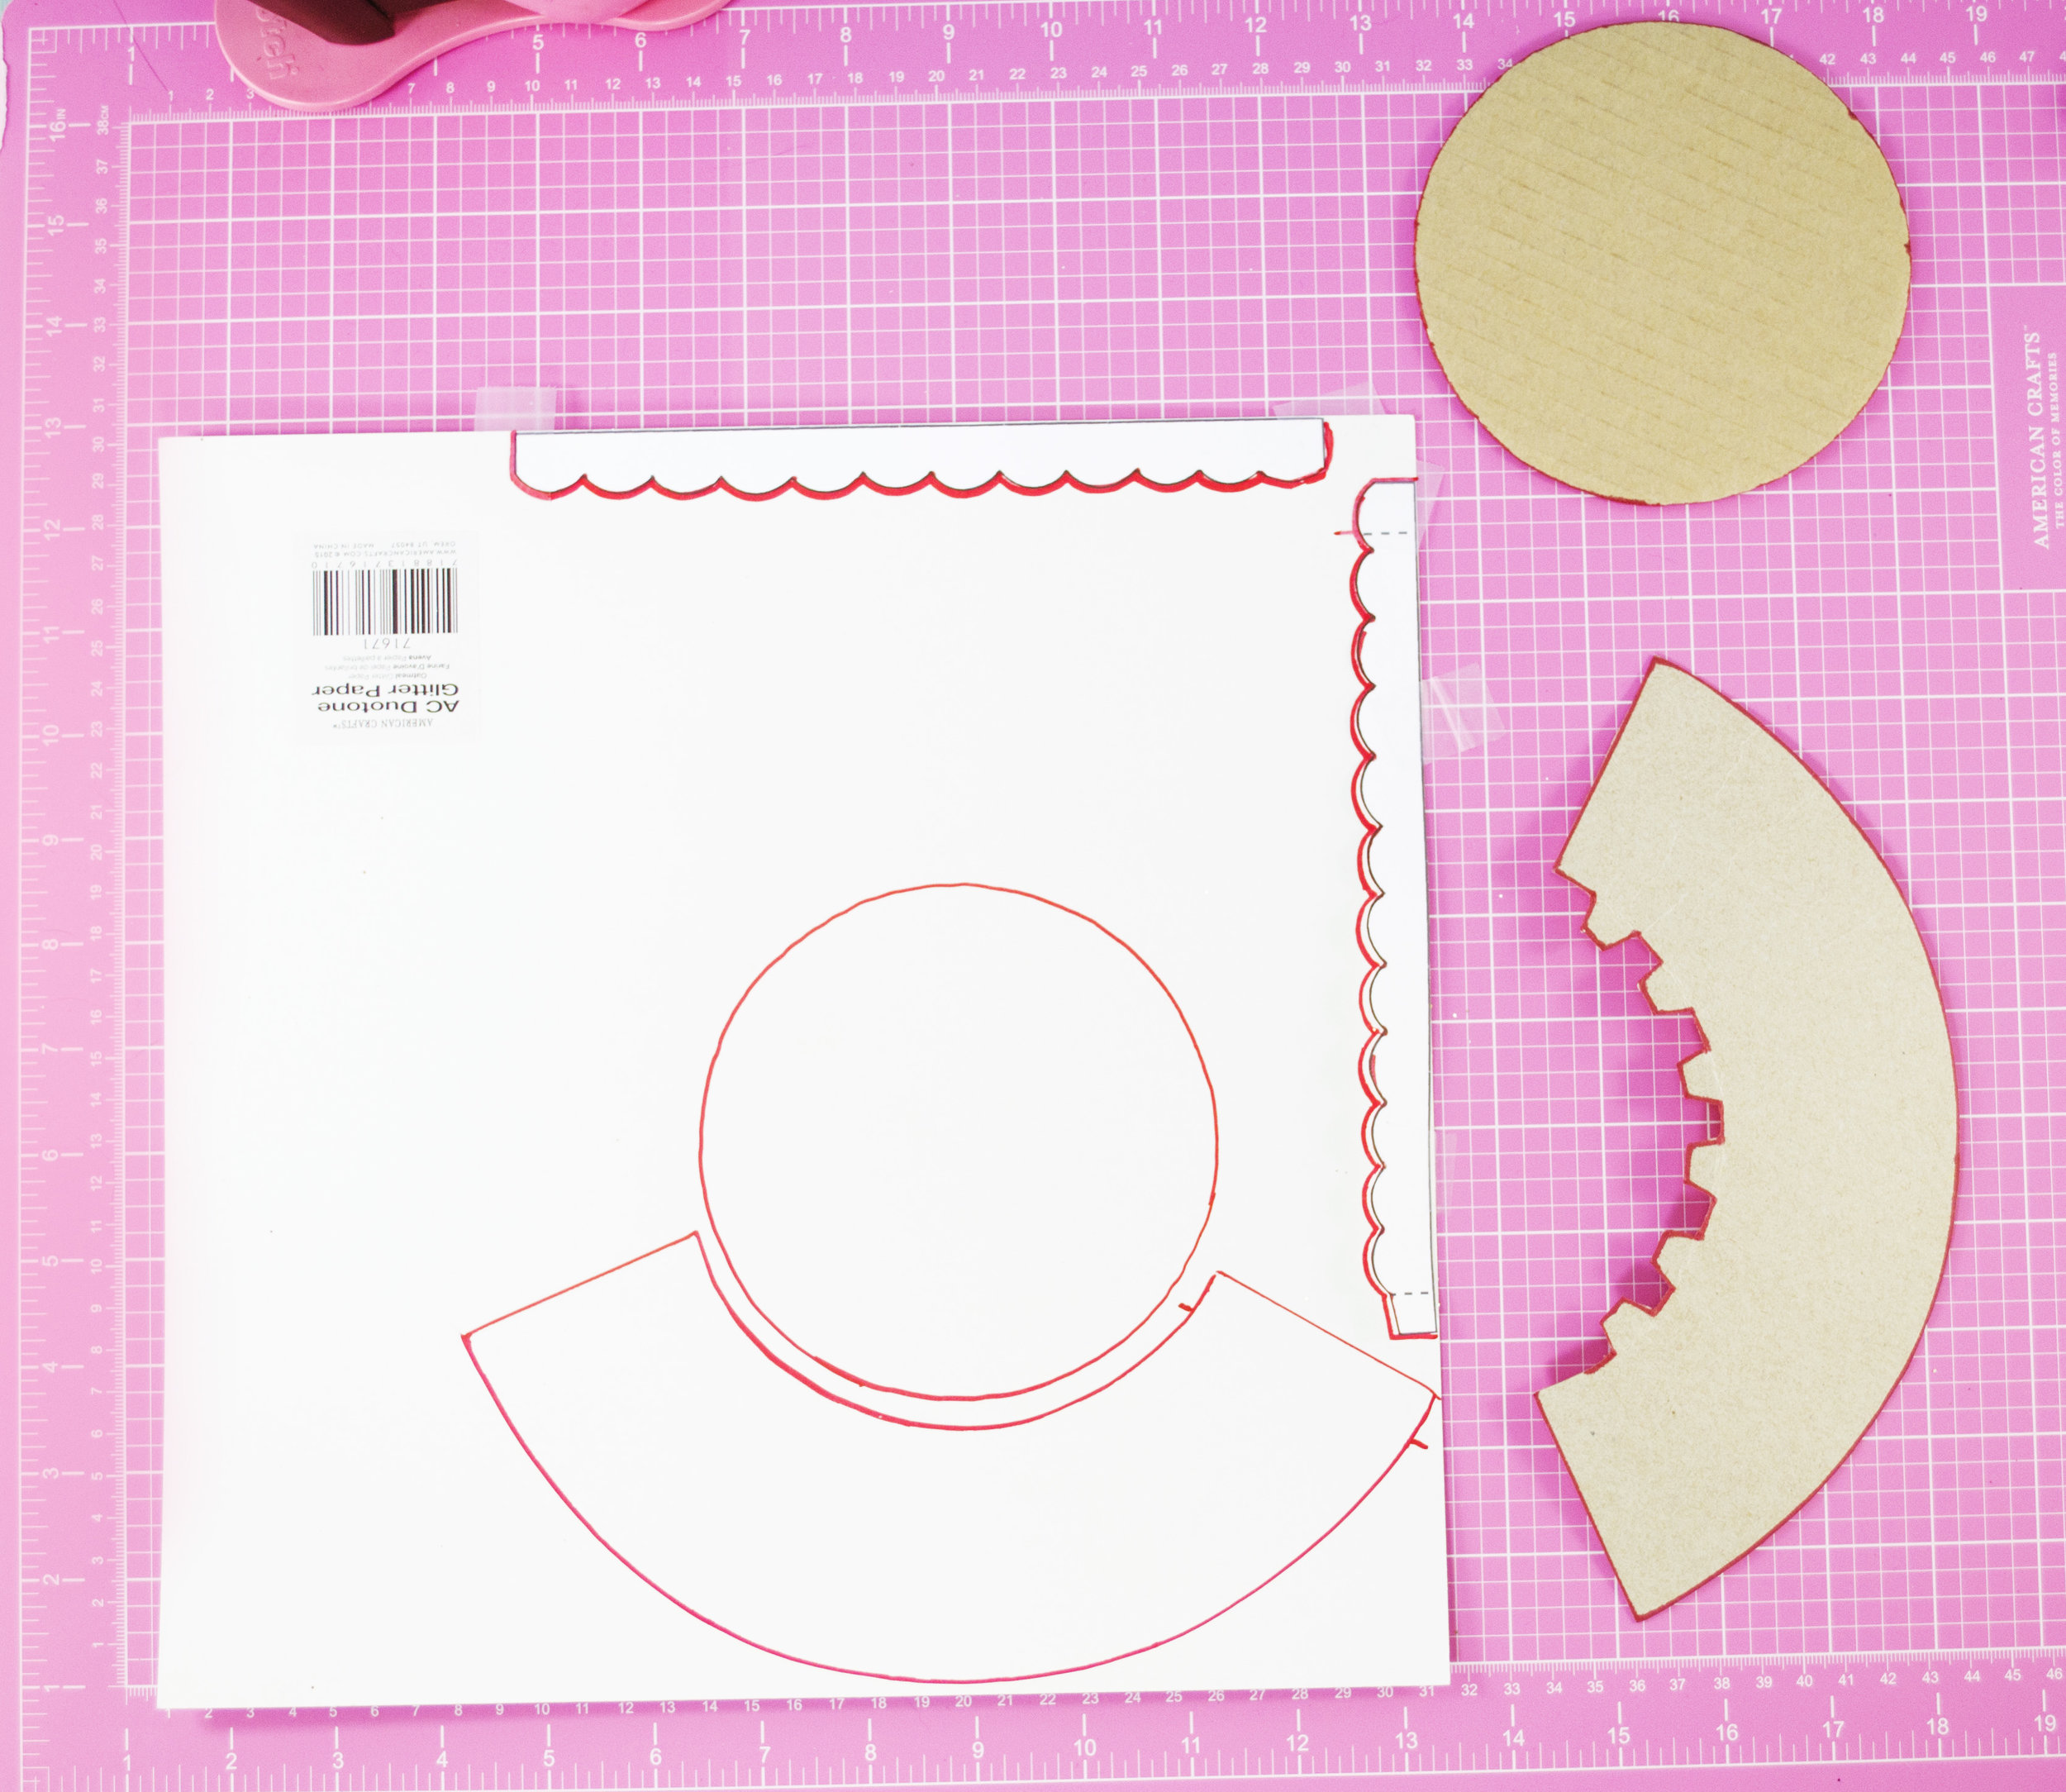
Step 3) You should have one circle and one semi-circle with tabs cut out of cardboard.You should also have one circle and one semi-circle and two of the scalloped strips cut out of the outer material.

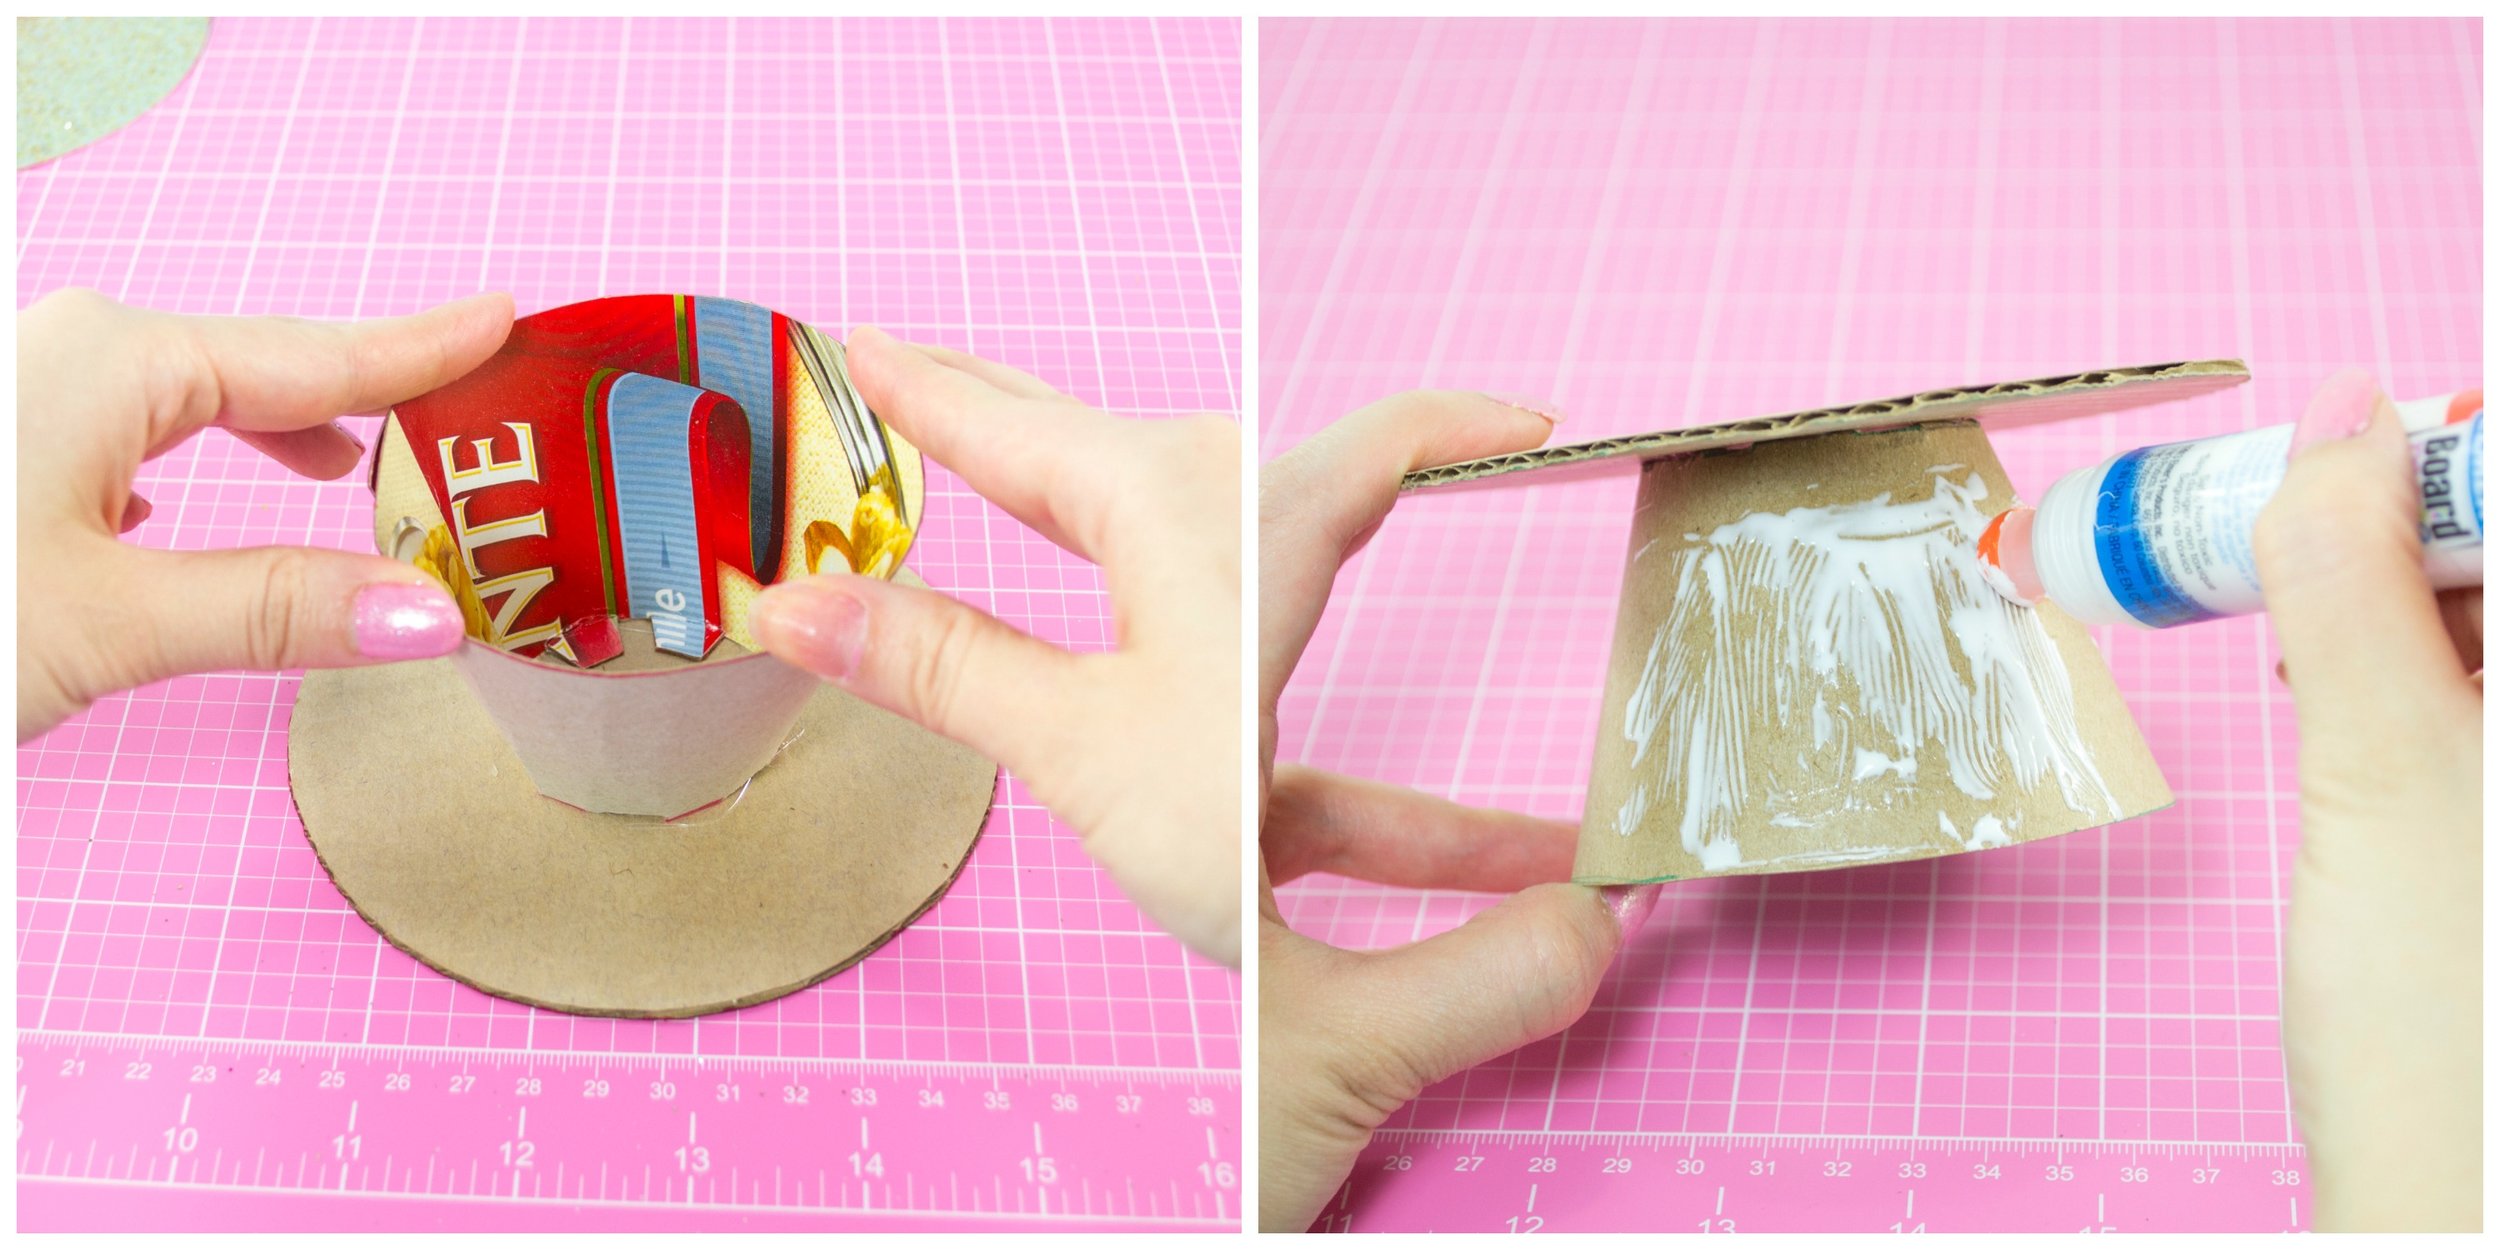
Step 4) Apply hot glue along the one side of cardboard semi circle. Wrap it around til it overlaps the glue. Hold until dry. This will form the base of the cupcake stand.

Step 5) Mark the center on the cardboard circle for reference. Next bend all the tabs on the base of the stand inwards and apply hot glue to each one. Press and hold the stand base against the center of cardboard circle. Hold til dry. Apply white glue all over the stand base. If you're using a thick outer material you can opt to use hot glue instead.
Step 6) Wrap the outer material around the stand base. Hold until dry. Next apply glue to the end of one of the scallop strips. Overlap the other scallop strip to make one long strip. You can skip this step if your scallop strip is already one lone piece.

Step 7) Decide where you want the seems of the scallop strip to go, then begin applying hot glue to the rim of the cupcake stand top. Carefully wrap the scallop strip around the edge as you apply the glue. Apply white glue to the entire surface of the top of the cupcake stand. You can also opt to use hot gun for this step.

Lastly, press the circle of the outer material to the top of the cupcake stand. Allow to dry and you're done!
