• Blog
    • Blog Archives
    • Latest Post
    • Silhouette Cameo Projects Archive
    • Latest Silhouette Tutorials
  • NewsLetter
  • about
  • Graphics Portfolio
  • Contact
Menu

Little Luxuries Loft

Street Address
City, State, Zip
Phone Number
PRINTABLE PARTY FAVORS

Your Custom Text Here

Little Luxuries Loft

  • Blog
  • Blog
    • Blog Archives
    • Latest Post
    • Silhouette Cameo Projects Archive
    • Latest Silhouette Tutorials
  • NewsLetter
  • about
  • Graphics Portfolio
  • Contact

Halloween Owl Pop Up Card

October 1, 2017 Alle C
HalloweenOwlCard.jpg

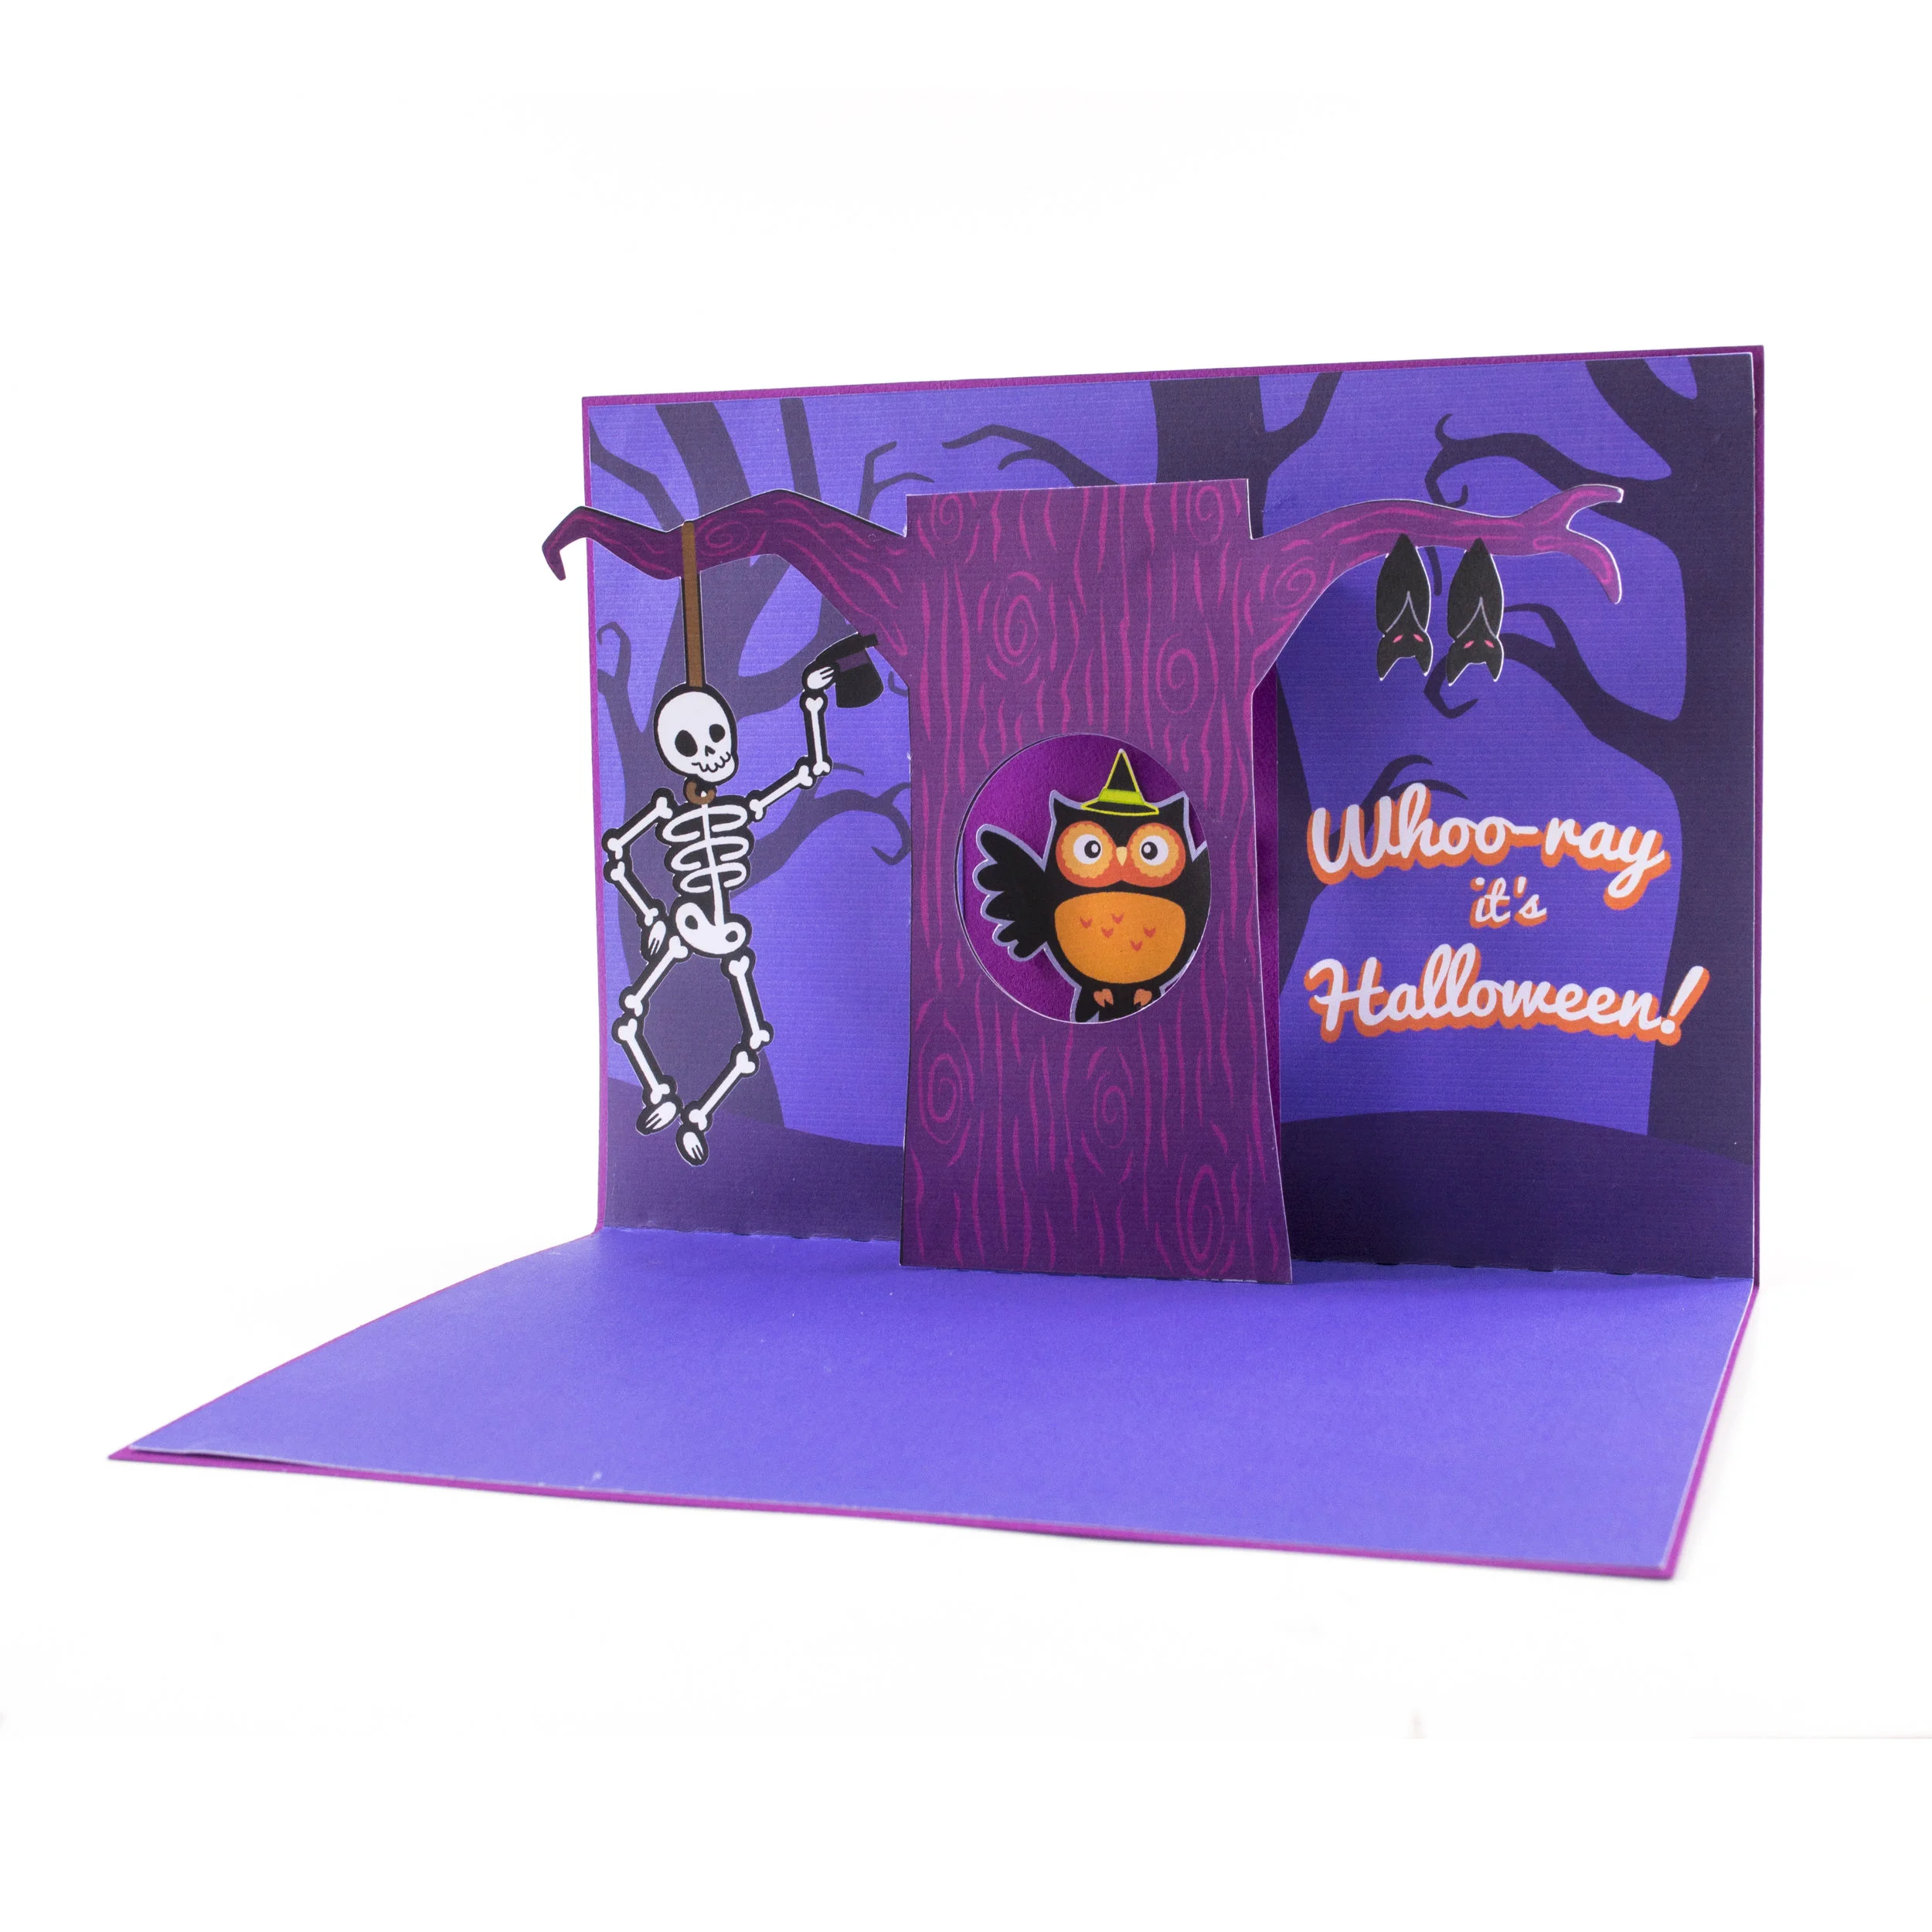
Make your own 'print and cut' Owl Pop-up card! This frightfully fun Halloween card comes with the printable tree and owl card insert as well as a regular cut 'Happy Halloween' sign to go on the outside of the card! Customize the outside of the card with your choice of coloured card stock!

DIMENSIONS
The card is approximately 6 5/8" wide, 4 7/8" tall
SUPPLIES NEEDED
- Colour printer & ink
- Clear drying Glue Stick
- 2 sheet white 8.5" by 11" Cardstock (65 lb), 2 sheets any colour card stock.
- Silhouette Cameo & Mat

owlcardAssembly5.jpg
owlcardAssembly.jpg
owlcardAssembly2.jpg
owlcardAssembly3.jpg
OwlCard2.jpg

ASSEMBLY:

Step 1: Place the background inside card insert design within the registration guides in silhouette studio. Print the design with the registration marks onto white card stock. Select 'card-stock' as the material in your cut settings, then load your cutting mat with your design into your Silhouette Cameo. 

Step 2: Once cut, fold in half and crease along the perforated edges. The white pop out section should be crease so that it sticks outwards from the card.

Step 3: Cut out the outside of the card in your choice of coloured cardstock and fold in half along the perforated edge. Apply glue to the back of the background card insert. Align the insert with the center fold line of the outer card. 

Step 4: Cut out the tree and owl pieces onto white cardstock. Apply glue to the back of the owl and place it in the hole of the white pop out piece. Apply glue to the back of the tree trunk and apply it on top of the white pop out section. 

Step 5: Cut the 'Happy Halloween' sign out of your choice of cardstock (note: very thin cardstock will tear when removed). Once cut carefully remove the sign and apply clear drying glue to the back. Apply the sign to the outside of the card. Voila! Your card is ready to gift!

← Pumpkin Patch Halloween Pop Up cardHalloween Vampire Pop Up Card →

Join In

Love Happy Mail? Us too! Join our monthly newsletter to receive FREE printables, special offers and more.

We respect your privacy.

Thank you!

On the Little Luxuries Loft Blog...

Featured
Create Art History Paper Toys Tutorial
Feb 15, 2018
Create Art History Paper Toys Tutorial
Feb 15, 2018
Feb 15, 2018
DIY Cupcake Stand Tutorial
Feb 10, 2017
DIY Cupcake Stand Tutorial
Feb 10, 2017
Feb 10, 2017
Gingerbread Man Printable Colouring Gift Wrap
Dec 9, 2016
Gingerbread Man Printable Colouring Gift Wrap
Dec 9, 2016
Dec 9, 2016
To Hogwarts We Will Go! Harry Potter Inspired Printable Treat Boxes
Oct 19, 2016
To Hogwarts We Will Go! Harry Potter Inspired Printable Treat Boxes
Oct 19, 2016
Oct 19, 2016
Printables For Boo-tiful Halloween Party Decor!
Oct 15, 2016
Printables For Boo-tiful Halloween Party Decor!
Oct 15, 2016
Oct 15, 2016
A Hug In A Mug! DIY Fall Latte Stencils
Sep 14, 2016
A Hug In A Mug! DIY Fall Latte Stencils
Sep 14, 2016
Sep 14, 2016
This Little Light of Mine-DIY Printable Lighthouse Tealight Holder
Aug 22, 2016
This Little Light of Mine-DIY Printable Lighthouse Tealight Holder
Aug 22, 2016
Aug 22, 2016
Easy-Peasy Lemon Squeezy! Printable Lemonade Stand Treat Box
Aug 17, 2016
Easy-Peasy Lemon Squeezy! Printable Lemonade Stand Treat Box
Aug 17, 2016
Aug 17, 2016
Let's Get Fancy! Printable Flamingo and Palms Gift Wrap
Aug 8, 2016
Let's Get Fancy! Printable Flamingo and Palms Gift Wrap
Aug 8, 2016
Aug 8, 2016
Let's Cruise! Printable Summer Gift Wrap
Jul 26, 2016
Let's Cruise! Printable Summer Gift Wrap
Jul 26, 2016
Jul 26, 2016